One of my favorite techniques in art is the “Watercolor Effect”. The “Watercolor Effect”, is a style of art on paper that looks like water colors but is only pens and water. You can do all starts of colors to make things like space, the ocean, etc. Here are the supplies and steps in making the “Watercolor Effect”.
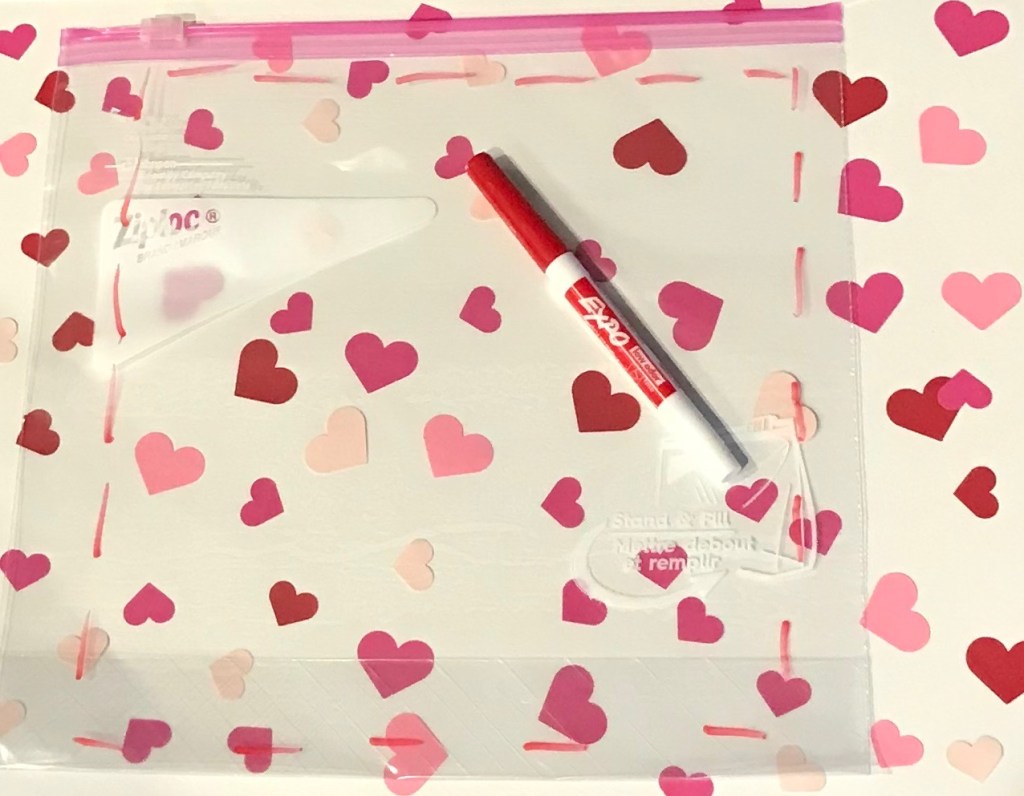
Supplies:
- Paper
- Markers
- Plastic Bag
- Scissors
- Spray Bottle Containing Water
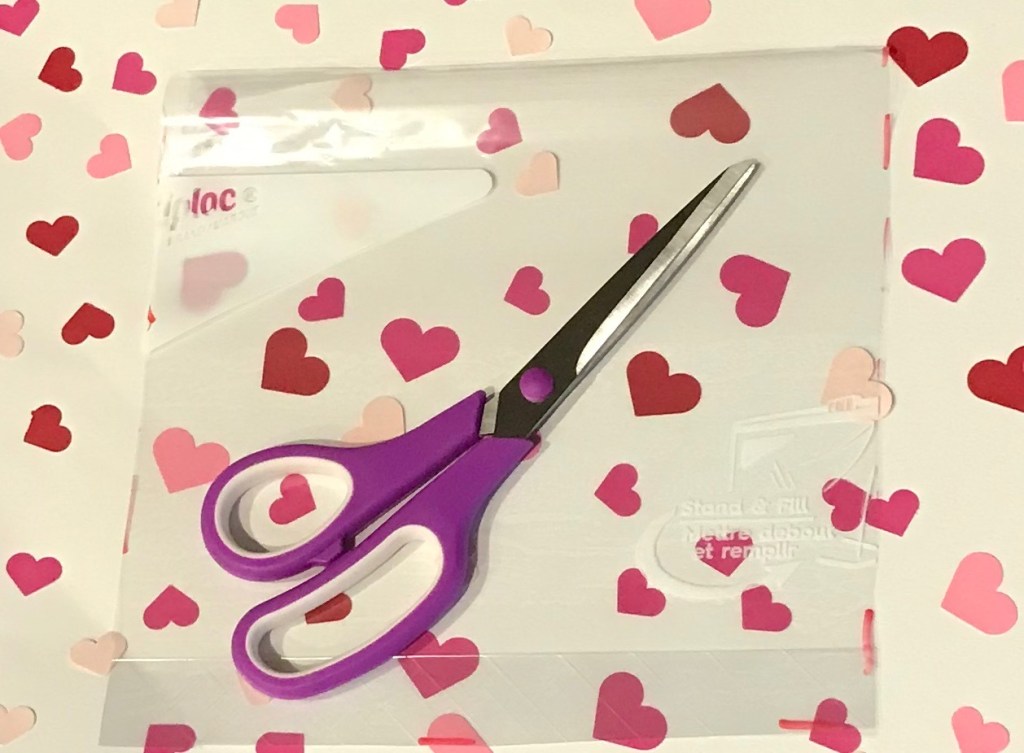
Step One:
Use scissors to cut plastic bag in half.
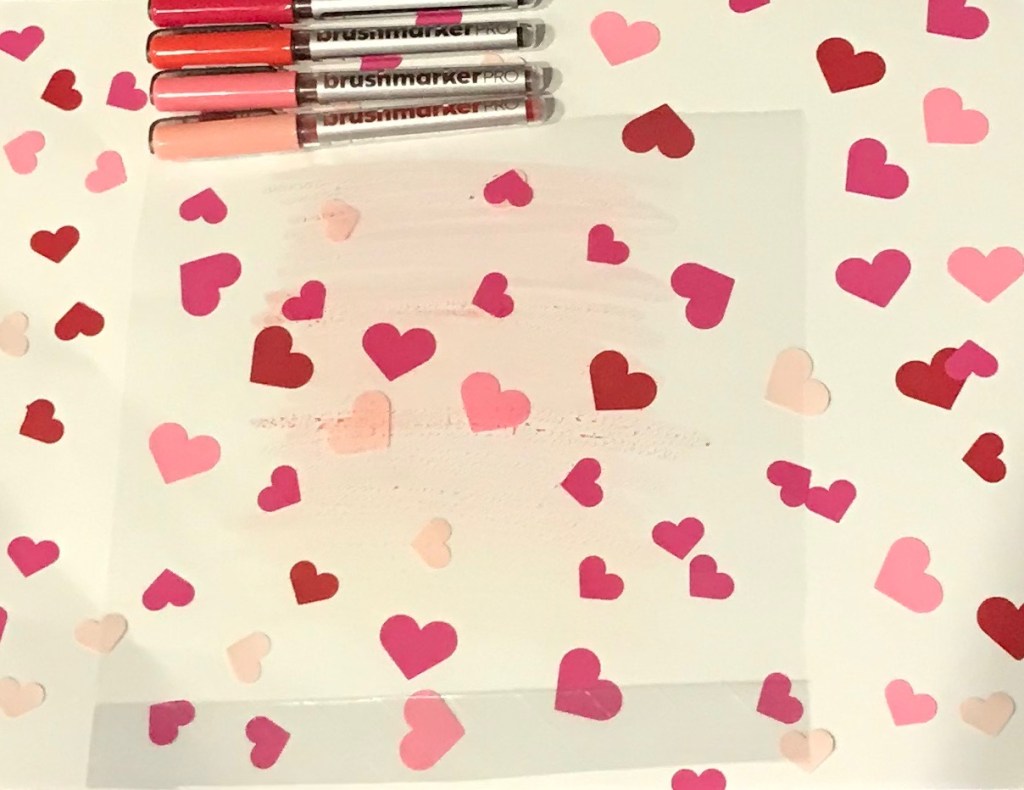
Step Two:
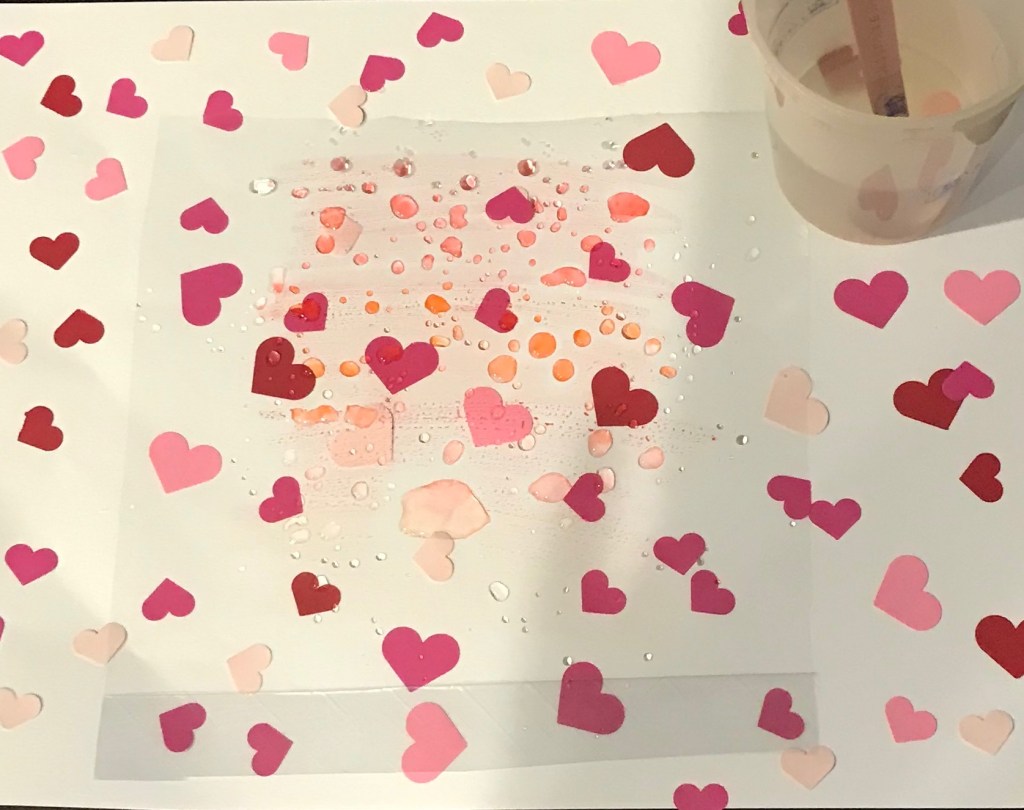
Use markers to scribble in sections on the plastic bag.

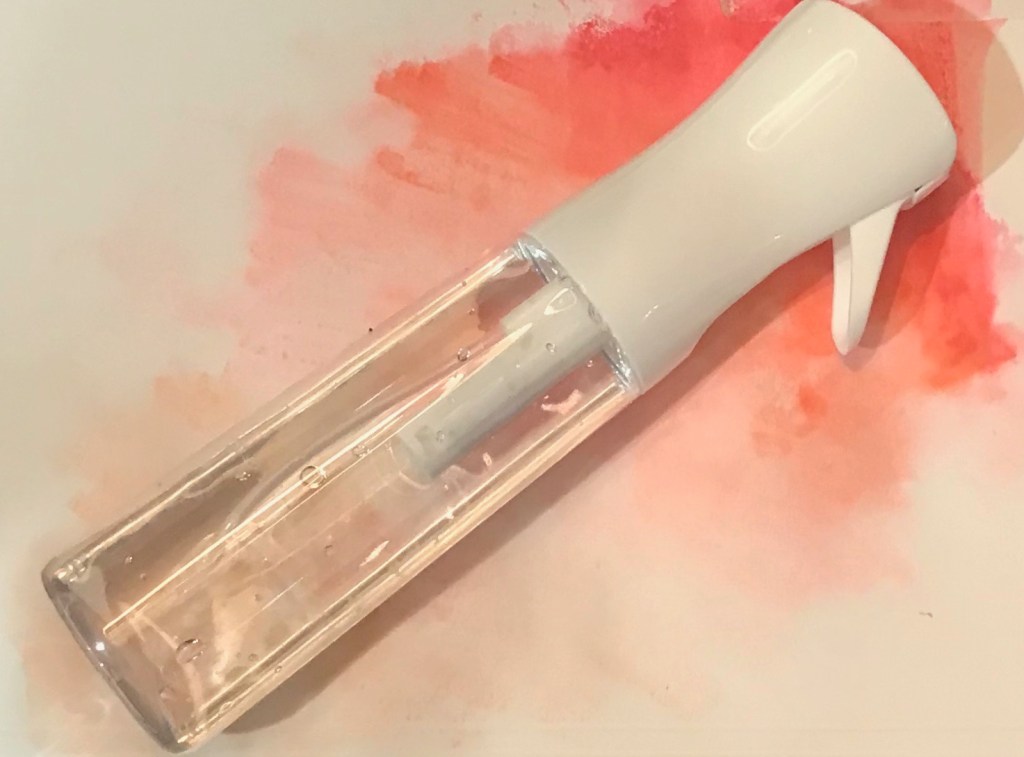
Step Three:
Spritz the plastic bag with the spray bottle full of water (Warning: Don’t spray too much water on the plastic bag otherwise the colors will mix).
Step Four:
Flip plastic bag over onto piece of paper.
Step Five:
Rub finger across back side of plastic bag to embed the marker into the paper.
Step Six:
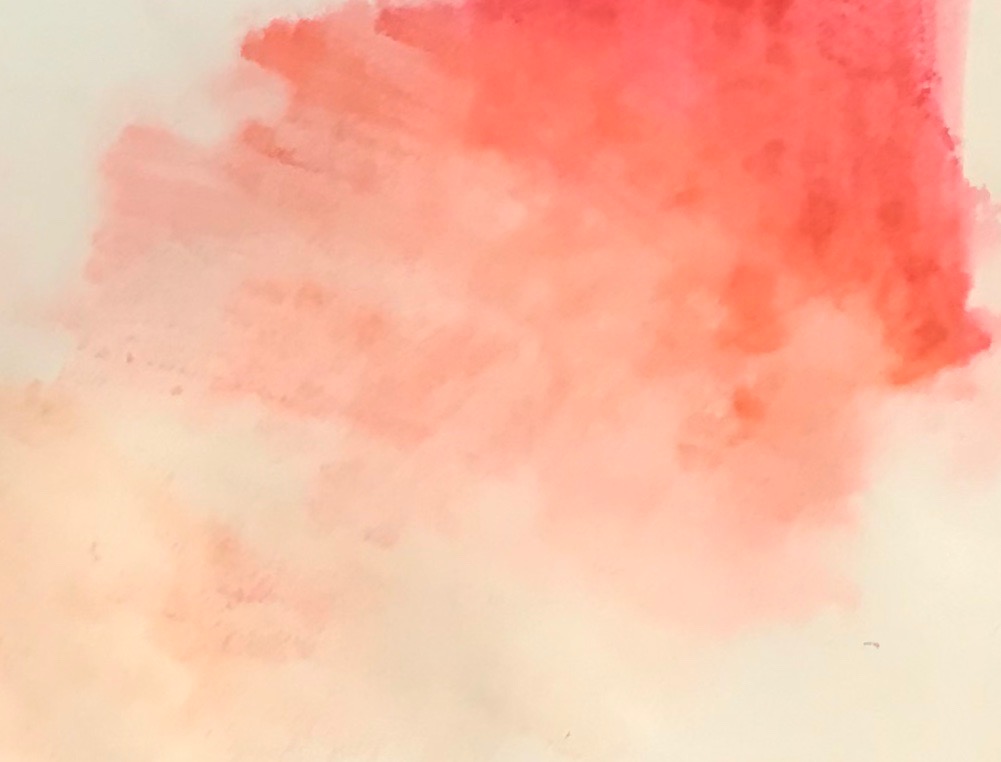
Slowly lift up paper and then you have the final result.
Here is the video link from the lady I learned this technique from. Check her other videos out on Pinterest!
